Before & After Nail Transformations with Press-On Nails Kit
Some beauty changes feel like pure magic, and press-on nails are one of them. In just a few minutes, they can turn everyday nails into glossy, salon-worthy showstoppers. The difference between “before” and “after” may take only a little effort, but the payoff is huge. That’s the beauty of a press on nails kit, an easy, affordable way to give your hands an instant confidence boost.
We’ve all seen those viral before-and-after photos online, the ones that make you stop scrolling because the transformation is so good. The best part? You don’t need a professional appointment or a steady hand for intricate nail art.
With a little prep and the right press on kit, you can achieve flawless, salon-quality results right from your couch. Let’s walk through how this simple kit can completely transform your nails.
Why Press-On Nails Kit
If you’ve ever wanted a salon-perfect manicure without the price tag, press-ons are a total game-changer. A press-on nail kit comes with everything you need, from adhesive and buffers to a variety of shapes and designs, so you can create a professional-looking manicure in minutes. What used to take an appointment and a small fortune now fits easily into your evening routine.
Press-ons are perfect for anyone with a packed schedule or a last-minute event. Need fresh nails before a night out or an important meeting? No problem. Press-ons deliver instant results, and the design choices are endless, from timeless neutrals to bold chrome or glitter looks.
Unlike acrylics or gels, DIY manicure press-ons are gentle on your natural nails and simple to remove. You can change your style as often as you like without damage or commitment. That’s why beauty lovers everywhere swear by them as some of the best press on nail kits you can find.
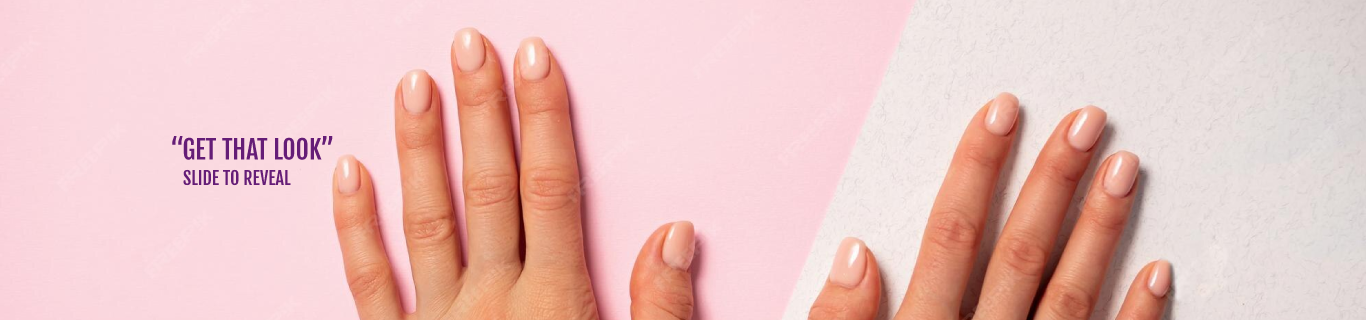
The “Before” Stage
We’ve all had those nail days, when our nails are short, uneven, or just plain dull. The “before” stage is where the transformation begins. It’s your clean canvas, ready for a little magic.
Take a moment to look at your natural nails before applying. Are they clean? Healthy? Shaped the way you like? A quick check helps you prep effectively so your press-ons adhere better and look smoother. Once you’ve assessed and prepped, you’re ready to turn those plain nails into something beautiful.
Choose Your Kit
Not all press-ons are created equal. The right nail kit makes the difference between nails that last and ones that pop off after a day. Look for sets that include a range of sizes, quality adhesives, and shaping tools.
When choosing a style, think about your vibe and the occasion. Going for an everyday look? Try soft pinks or beige tones. Want something dramatic? Opt for stiletto tips or metallic finishes.
If you’re new to press-ons, start with a nail sizing kit to find your ideal fit. It ensures your nails sit comfortably and naturally. You can even buy nail sizing kits online for the most precise match. Once you’ve found your perfect size, applying becomes seamless every time.
Prep Work for Best Results
Every great manicure starts with solid prep work. Even the best press on nail kits won’t last if your nails aren’t ready. Start by washing your hands, pushing back your cuticles, and lightly buffing the nail surface. This removes oils that can prevent proper adhesion.
Match each press-on to your nail before starting. If needed, file the edges slightly for a perfect fit. Then, use an alcohol wipe to make sure your nails are clean and dry; this helps the adhesive grip better. It might feel like an extra step, but it’s what makes your manicure last days longer.
Application Step by Step
Here’s how to achieve that perfect, polished look:
- Lay out your nails: Organize them by size before starting.
- Apply adhesive: Use glue or sticky tabs, applying evenly to avoid air bubbles.
- Press and hold: Hold each nail in place for 10–15 seconds to secure the bond.
- Shape and refine: Once applied, use a file to smooth edges and perfect the shape.
Pro tip: Apply your thumbs for easier control. Slow, careful application always leads to better results; it’s the difference between a quick fix and a flawless finish.
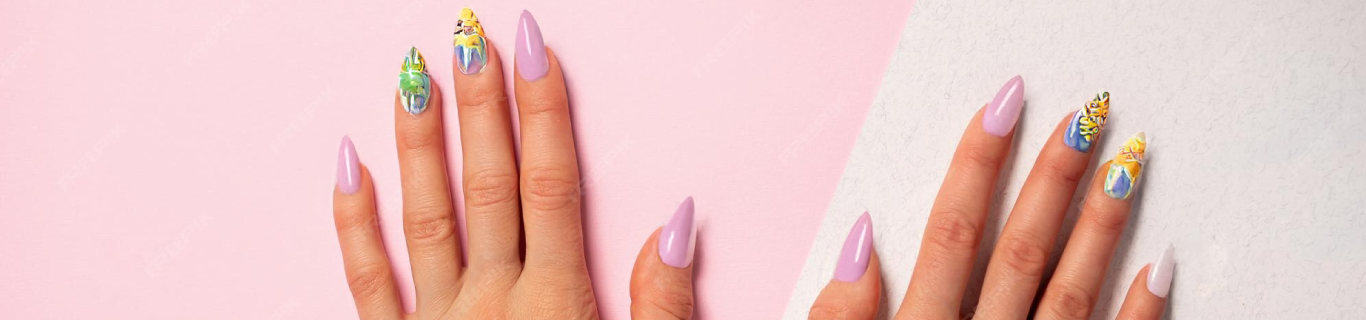
The “After” Stage
Now for the moment of truth, the reveal! Instantly, your nails look longer, shinier, and perfectly shaped. The transformation feels effortless, but the impact is undeniable.
Your nails now have that sleek, professional touch that makes even the simplest tasks, like holding a coffee, typing on your laptop, feel glamorous. Many nail enthusiasts love sharing their press-on nails before and after photos online because the results look like something straight out of a salon.
Maintenance & Care Post-Application
To keep them looking good, a little TLC goes a long way. Don’t soak your hands for too long, wear gloves when cleaning or washing dishes, and apply cuticle oil daily to keep everything hydrated.
If one nail starts to lift, don’t panic. Apply a dot of glue, press firmly, and you’re good to go. Most kits come with extra nails so you can replace or fix any that pop off.
With these simple steps, your manicure can last up to two weeks, shiny, smooth, and selfie-ready the whole time.
Removal and Aftercare
When you’re ready to change up your look, remove your nails the gentle way. Never rip or peel them off; that’s a recipe for nail damage. Instead, soak them in warm soapy water or a little cuticle oil for about 15 minutes until they lift naturally.
After removal, nourish your nails. Massage in cuticle oil or hand cream to keep them healthy and moisturized. Let your nails breathe for a day or two before applying a new set. For a detailed removal guide, check out Press-On Nails Removal Guide.
Real Transformations
One of the best things about press-ons is seeing real results. From clean French tips to bold designs, the possibilities are endless. Browse a nail transformation gallery and you’ll see how versatile and fun press-ons can be.
At NailKitly, we love seeing your nail journeys. Whether you’re matching your nails to your outfit, your mood, or a holiday theme, every design tells a story. Share your before-and-after photos with us and join a community that’s redefining beauty, one manicure at a time.
Common Mistakes & How to Avoid Them
Press-ons are easy to use, but small mistakes can affect the results. Using the wrong size, skipping prep, or using too much glue are common issues.
Avoid these by taking a few extra minutes to measure your nails with a nail sizing kit, prep thoroughly, and apply just the right amount of glue. Also, avoid lotions before applying, as they can make the nails slip.
You can even use a Nail Tools Kit to make prep easier and get a cleaner, longer-lasting result.
When Press-Ons Might Not Be Ideal

Press-ons are great for most people, but if your nails are damaged or very soft, it’s better to give them a break. You can use strengthening treatments or try gel wraps instead. If your hands are often in water, often like swimming or cleaning, consider alternating with other styles for durability.
Healthy nails are the foundation for a great manicure. If you want to make every application smoother and safer, Buy Nail Tools Kit essentials, which help with prep, shaping, and caring for your nails long term.
FAQs
What are “Before & After Nail Transformations with Press-On Nails Kit”?
They’re the amazing results you see after using a press-on nails kit, nails that go from short or uneven to sleek, glossy, and salon-perfect in minutes.
Can I get salon-quality results at home?
Yes. With a high-quality press-on nail kit and proper prep, your nails can look professionally done right at home.
How long do press-on nail kits usually last?
Depending on your lifestyle and prep routine, press-ons typically last 10-14 days, even longer if you take care of them.
What’s the most important step before applying press-ons?
Clean and prep your nails. Remove oils, shape them, and use alcohol wipes before applying for a stronger bond.
How can I keep my press-on manicure looking fresh?
Wear gloves during chores, avoid too much moisturizer, and apply cuticle oil daily to keep that glossy finish.
How do I keep my natural nails healthy?
After removal, moisturize and apply strengthening oil. Giving your nails a short break between sets keeps them healthy and ready for the next glow up.
Conclusion & Next Steps
Something is empowering about creating your own transformation. With a press-on nail kit, you get instant professional results, no appointment needed. They’re fun, affordable, and the easiest way to express yourself.
Every application is a little act of self-care, a moment to treat yourself and feel confident. Whether you’re new to press-ons or already a fan, now’s the perfect time to try a new set from NailKitly and experience the magic for yourself.
Your next transformation is just one kit away.